Hyundai i-30: Front Bumper / Front Bumper Assembly
Hyundai i30 (PD) 2018-2025 Service Manual / Body (Interior and Exterior) / Front Bumper / Front Bumper Assembly
Components and components location
| Component Location |
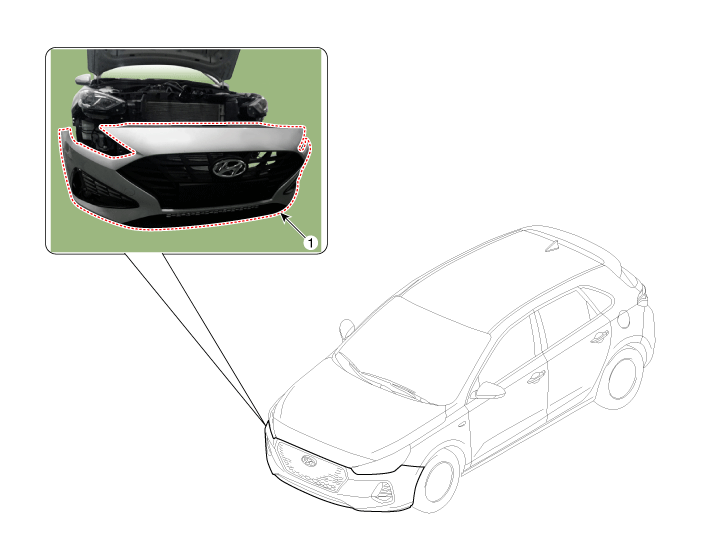
| 1. Front bumper
assembly |
Repair procedures
| Replacement |
|
|
| 1. |
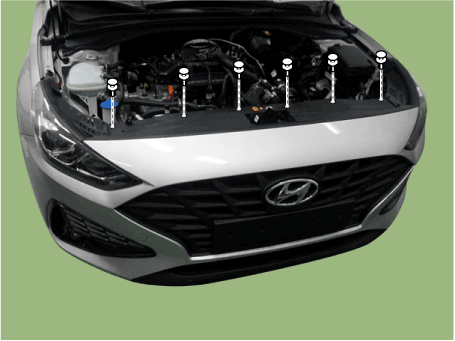
Loosen the pin-type retainers and bolts of the front bumper upper.
|
| 2. |
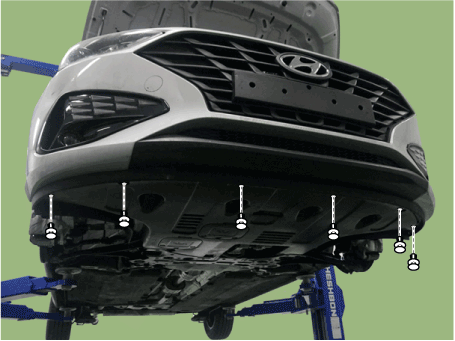
Loosen the front bumper lower mounting clips.
|
| 3. |
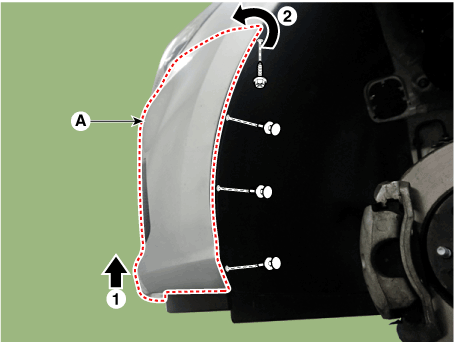
After loosening the pin-type retainers and screws on the side of front
bumper, detach the side part of front bumper.
|
| 4. |
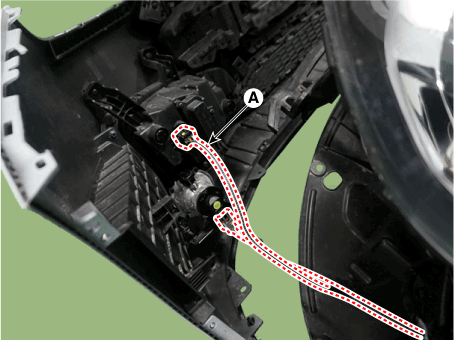
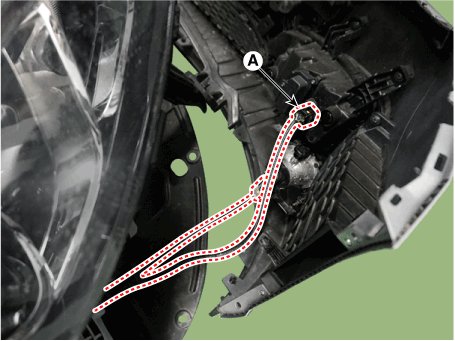
Disconnect the front bumper connector (A).
[LH]
[RH]
|
| 5. |
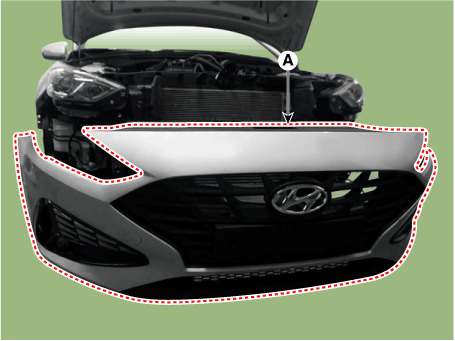
Remove the front bumper assembly (A).
|
| 6. |
To install, reverse removal procedure.
|
 Radiator Grill
Components and components location
Component Location
1. Radiator grill
Repair procedures
Replacement
•
Put on gloves to prevent hand injuries...
Other information:
Hyundai i30 (PD) 2018-2025 Service Manual: Blower Resistor (Manual)
Repair procedures Inspection 1. Measure the resistance between the terminals. 2. The measured resistance is not within specification, the blower resistor must be replaced. (After removing the resistor) Replacement 1...
Hyundai i30 (PD) 2018-2025 Owner's Manual: Rear fog lamp
Vehicle with front fog lamp To turn on the rear fog lamp: Position the light switch in the position lamp position, turn the light switch (1) to the front fog lamp position, and then turn the light switch (1) to the rear fog lamp position. To turn the rear fog lamps off, do one of the following: Turn off the position light switch...
Categories
- Manuals Home
- 3rd Generation i30 Owners Manual
- 3rd Generation i30 Service Manual
- EPB malfunction indicator
- Engine compartment
- To activate the ISG system
- New on site
- Most important about car
Warning light and message
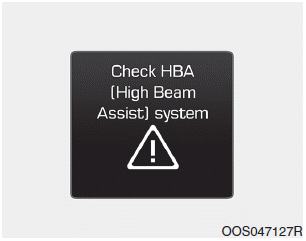
When the High Beam Assist (HBA)
System is not working properly, the
warning message will come on for a
few second. After the message disappears,
the master warning light ( )
will illuminate.
Copyright © 2025 www.hi30.net


