Hyundai i-30: Crash Pad / Crash Pad Garnish
Hyundai i30 (PD) 2018-2025 Service Manual / Body (Interior and Exterior) / Crash Pad / Crash Pad Garnish
Components and components location
| Components Location |
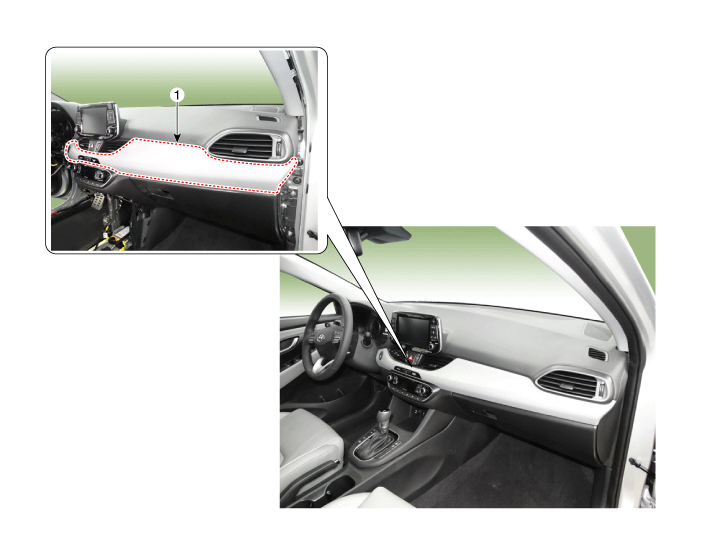
| 1. Crash pad
garnish assembly [RH] |
Repair procedures
| Replacement |
|

|

| 1. |
Remove the crash lower panel.
(Refer to Crash Pad - "Crash Pad Lower Panel")
|
| 2. |
Using a screwdriver or remover, remove the crash pad side cover [RH]
(A).
|
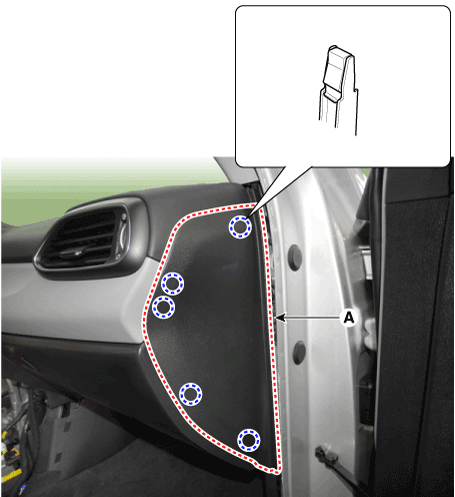
| 3. |
After loosening the mounting screws, remove the crash pad garnish assembly
[RH] (A).
|

| 4. |
Disconnect the hazard switch connector (A) and start button switch connector
(B).
|
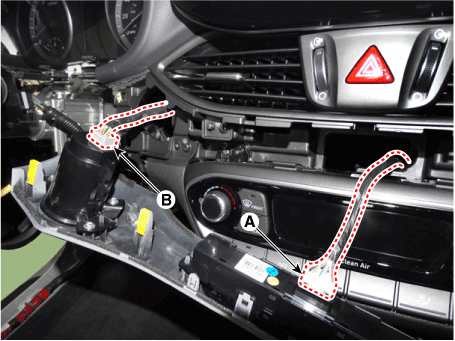
| 5. |
To install, reverse the removal procedure.
|

 Cluster Fascia Panel
Components and components location
Component Location
1. Cluster fascia
panel
Repair procedures
Replacement
•
Put on gloves to prevent hand injuries...
 Crash Pad Lower Panel
Components and components location
Component Location
1. Crash pad
lower panel
Repair procedures
Replacement
•
Put on gloves to prevent hand injuries...
Other information:
Hyundai i30 (PD) 2018-2025 Service Manual: Description and operation
Description Evaporative emission control system prevents fuel vapor stored in fuel tank from vaporizing into the atmosphere. When the fuel evaporates in the fuel tank, the vapor passes through vent hoses or tubes to the canister filled with charcoal and the canister temporarily holds the vapor in the charcoal...
Hyundai i30 (PD) 2018-2025 Service Manual: Luggage Room Lamp
Repair procedures Removal 1. Disconnect the negative (-) battery terminal. 2. Remove the luggage lamp by using the (-) screw driver. • Be careful not to damage the luggage trim...
Categories
- Manuals Home
- 3rd Generation i30 Owners Manual
- 3rd Generation i30 Service Manual
- Shift-lock system. Shift-lock release
- Scheduled maintenance services
- To activate the ISG system
- New on site
- Most important about car
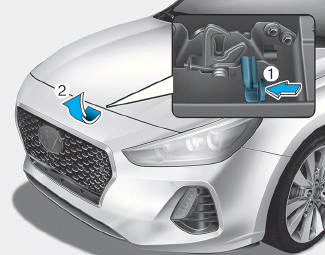
Bonnet
Opening the bonnet
1. Park the vehicle and set the parking brake.
2. Pull the release lever to unlatch the bonnet. The bonnet should pop open slightly.

Copyright © 2025 www.hi30.net