Hyundai i-30: Front Door / Repair procedures
Hyundai i30 (PD) 2018-2025 Service Manual / Body (Interior and Exterior) / Front Door / Repair procedures
| Adjustment |
Glass Adjustment
|

| 1. |
Remove the front door trim.
(Refer to Front Door - "Front Door Trim")
|
| 2. |
Separate the mounting plug hole (A) from the front door module.
|
| 3. |
After loosening the glass mounting bolts, adjust the spacing of the
glass (A) by moving the glass from side to side and then tighten the
bolts.
|
| 4. |
Check the glass for normal operation.
|
Door Striker Adjustment
|
| 1. |
After loosening the mounting screw, adjust the striker (A) by moving
it forward and backward or from side to side and then tighten the bolts
(B).
|
| 2. |
Tap on the striker with a plastic hammer to adjust the striker. The
striker will not move much, but will give some adjustment.
|
| 3. |
Hold the outer handle out, and push the door against the body to be
sure the striker allows a flush fit. If the door latches properly, tighten
the screws and recheck.
|
Door Position Adjustment
|
| 1. |
Check that the door and body edges are parallel.
|
| 2. |
Place the vehicle on a level surface before adjusting the doors.
|
| 3. |
Adjust the hinges (A) :
|
| 4. |
Grease the pivot portions of the hinges indicated.
|
| 5. |
Check for water leaks.
|
 Components and components location
Components
1. Front door
pull handle cover
2. Front door trim
3. Front door belt inside weatherstrip
4. Front door quadrant inner cover
5...
 Front Door Trim
Components and components location
Component Location
1. Front door
trim
Repair procedures
Replacement
•
Put on gloves to prevent hand injuries...
Other information:
Hyundai i30 (PD) 2018-2025 Owner's Manual: Heated steering wheel
When the ignition switch is in the ON position or when the engine is running, press the heated steering wheel button to warm the steering wheel. The indicator on the button will illuminate. To turn the heated steering wheel off, press the button again...
Hyundai i30 (PD) 2018-2025 Owner's Manual: What to expect after an air bag inflates
After a frontal or side air bag inflates, it will deflate very quickly. Air bag inflation will not prevent the driver from seeing out of the windscreen or being able to steer. Curtain air bags may remain partially inflated for some time after they deploy...
Categories
- Manuals Home
- 3rd Generation i30 Owners Manual
- 3rd Generation i30 Service Manual
- Exhaust System (DPF) Warning Light. Glow Indicator Light
- Drive mode integrated control system
- Front windscreen wiper service position
- New on site
- Most important about car
Gauges and meters
Speedometer
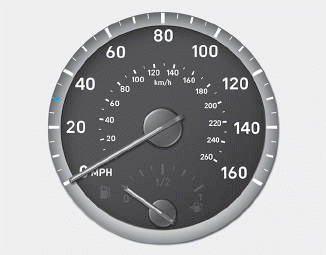
The speedometer indicates the speed of the vehicle and is calibrated in kilometers per hour (km/h) and/or miles per hour (MPH).
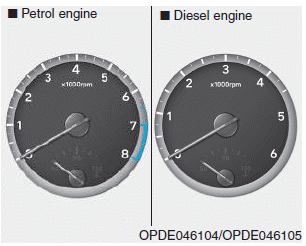
Tachometer

Copyright © 2025 www.hi30.net