Hyundai i-30: Rear Corner Radar System / Troubleshooting
Diagnosis with Diagnostic tool
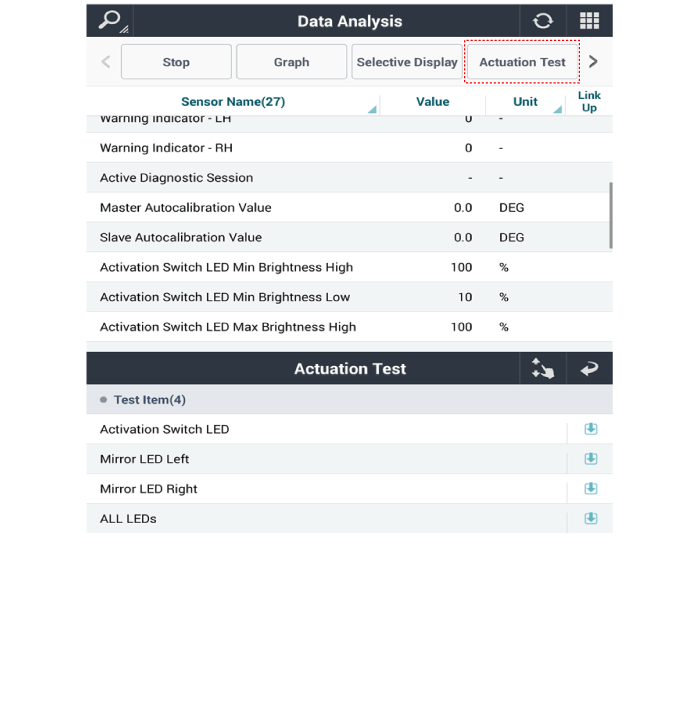
| 1. |
In the body electrical system, failure can be quickly diagnosed by using
the vehicle diagnostic system (Diagnostic tool).
The diagnostic system (Diagnostic tool) provides the following information.
|
| 2. |
Connect the cable of Diagnostic tool to the data link connector in driver
side crash pad lower panel, and turn on the Diagnostic tool.
|
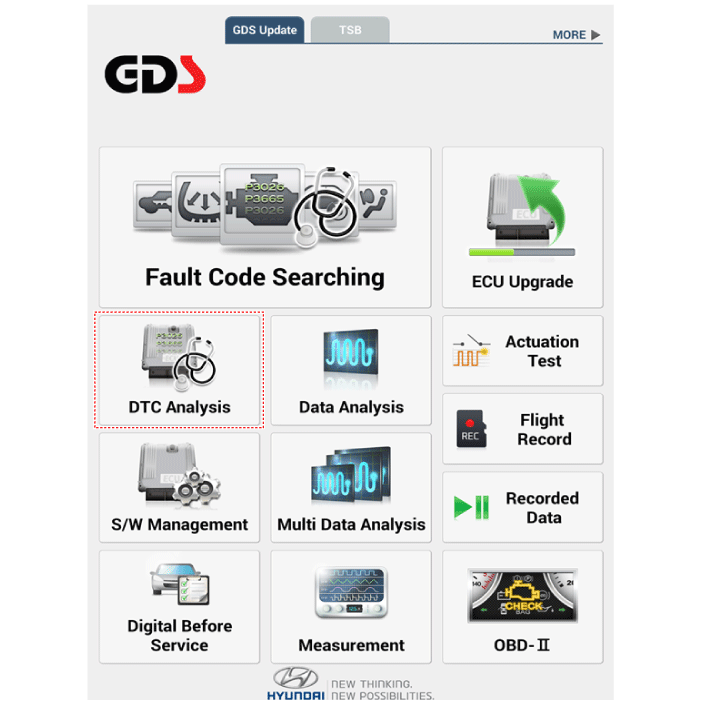
| 3. |
If diagnose the vehicle by Diagnostic tool, select "DTC Analysis" and
"Vehicle".
|
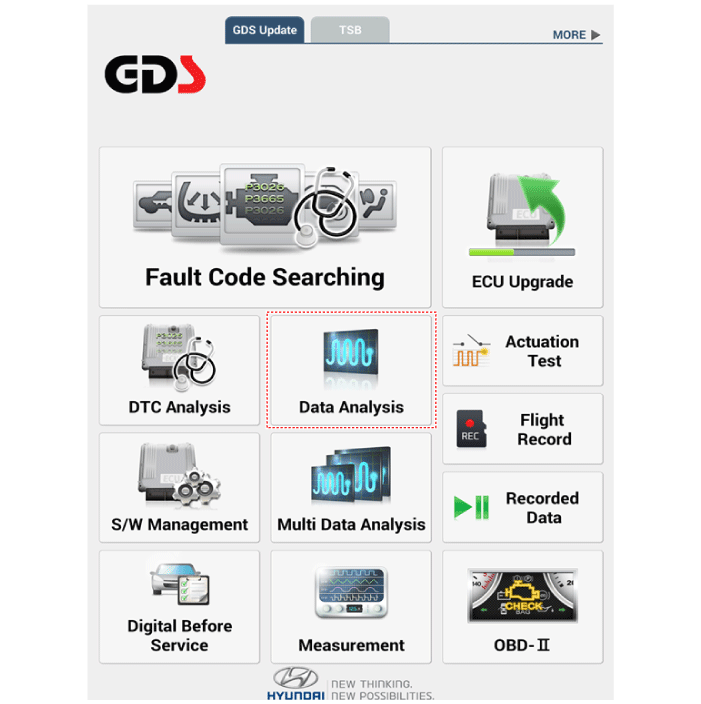
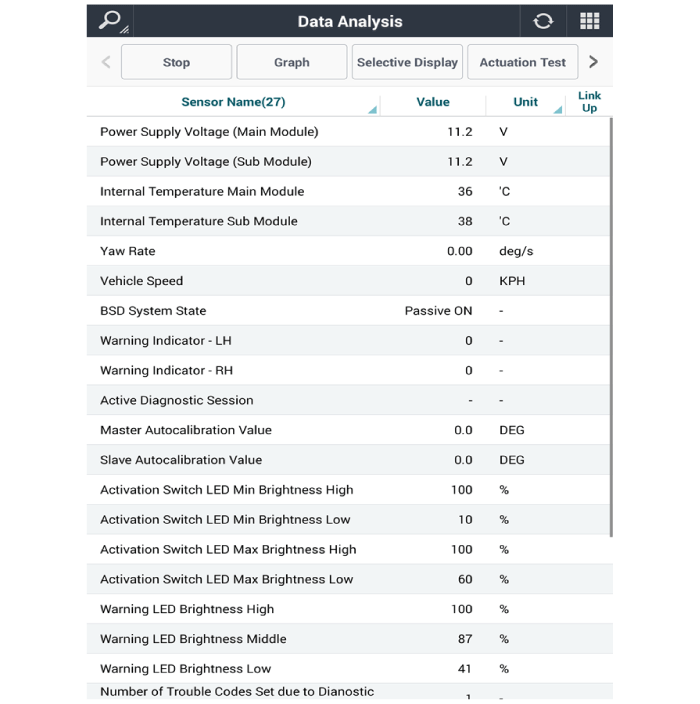
| 4. |
If check current status, select the "Data Analysis" .
|
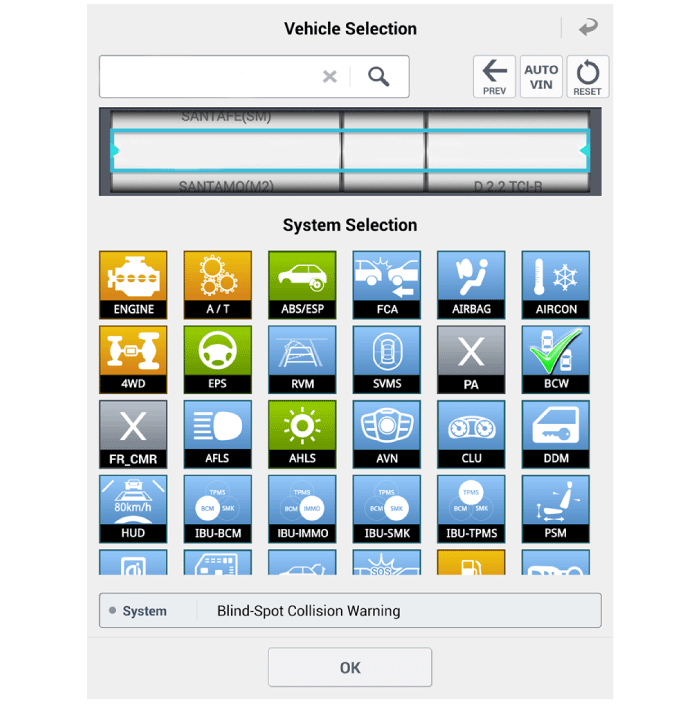
| 5. |
Select "BCW", if you want to check current data of BCW system.
|
| 6. |
If you want to check each module operation forcefully, select "Actuation
test".
|
 Description and operation
Description
Rear Corner Radar is a system that measures the relative speed and distance
from the following vehicles by using two electromagnetic wave radar sensors
attached to the rear bumper, and detects any vehicle within the blind spot zone
and gives off alarm...
 Rear Corner Radar Unit
Specifications
Specifications
Items
Blind-Spot Collision Warning (BCW)
Blind-Spot Collision- Avoidance Assist-Rear (BCA-R)
Rated voltage
DC 12V
Operating voltage
9V - 16V
Operating speed
20 km/h - 255 km/h
60 km/h - 200 km/h
Sensible distance
70m
Curvature radius
Start : More than 100m
Start : More than 625m
Stop : Less than 70m
Stop : Less than 588m
Frequency
24 GHz
Numbers
2EA
Items
Rear Cross-Traffic Collision Warning (RCCW)
Rear Cross-Traffic Collision- Avoidance Assist (RCCA)
Rated voltage
DC 12V
Operating voltage
9V - 16V
Operating speed
0 km/h - 10 km/h
Sensible distance
25m
Curvature radius
-
Frequency
24 GHz
Numbers
2EA
Items
Safe Exit Assist (SEA)
Rated voltage
DC 12V
Operating voltage
9V - 16V
Operating speed
0 km/h - 3 km/h
Sensible distance
25m
Curvature radius
-
Frequency
24GHz
Numbers
2EA
Schematic diagrams
Circuit Diagram
[5Door]
[Wagon]
[Fastback]
Repair procedures
Removal
1...
Other information:
Hyundai i30 (PD) 2018-2025 Owner's Manual: Interior lights
NOTICE Do not use the interior lights for extended periods when the engine is turned off otherwise the battery will discharge. WARNING Do not use the interior lights when driving in the dark.The interior lights may obscure your view and cause an accident...
Hyundai i30 (PD) 2018-2025 Service Manual: Thermal Management Module (TMM) Motor
Description and operation Description Integrated thermal management module (ITM) is a device that controls the coolant flow rate according to coolant temperature. At initial startup, the integrated thermal management module (ITM) quickly warms up the engine by controlling the flow of the coolant and this fast warm-up helps improve the fuel efficiency...
Categories
- Manuals Home
- 3rd Generation i30 Owners Manual
- 3rd Generation i30 Service Manual
- Brake/clutch fluid
- Battery replacement
- Theft-alarm system
- New on site
- Most important about car
Bonnet
Opening the bonnet
1. Park the vehicle and set the parking brake.
2. Pull the release lever to unlatch the bonnet. The bonnet should pop open slightly.

Copyright © 2025 www.hi30.net