Hyundai i-30: Front Seat / Front Seat Back Cover
Hyundai i30 (PD) 2018-2025 Service Manual / Body (Interior and Exterior) / Front Seat / Front Seat Back Cover
Components and components location
| Component Location |
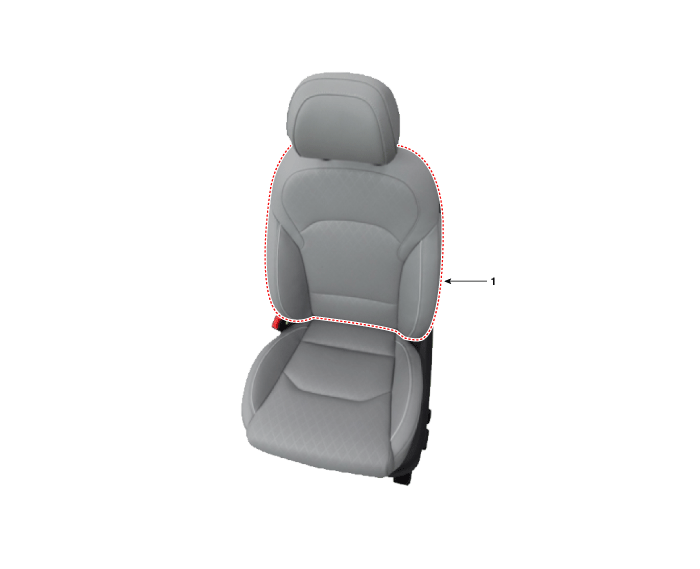
| 1. Front seat
back cover |
Repair procedures
| Replacement |
|
|
| 1. |
Remove the front seat assembly.
(Refer to Front Seat - "Front Seat Assembly")
|
| 2. |
Remove the front seat shield outer cover.
(Refer to Front Seat - "Front Seat Shield Outer Cover")
|
| 3. |
Remove the front seat shield inner cover.
(Refer to Front Seat - "Front Seat Shield Inner Cover")
|
| 4. |
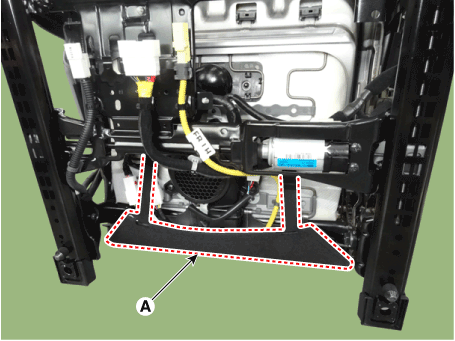
Remove the front seat lower protector (A).
|
| 5. |
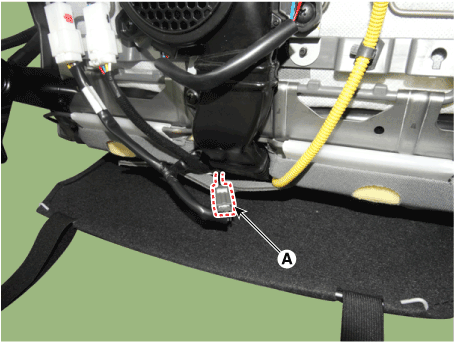
Disconnect the connector (A).
|
| 6. |
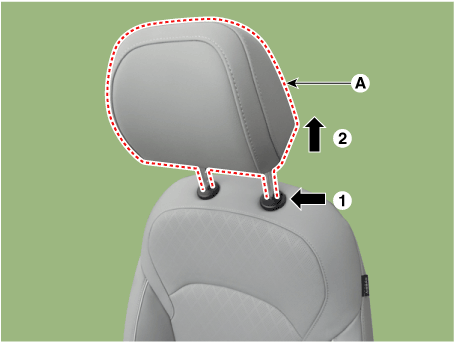
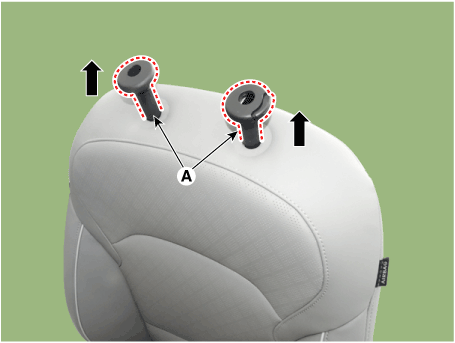
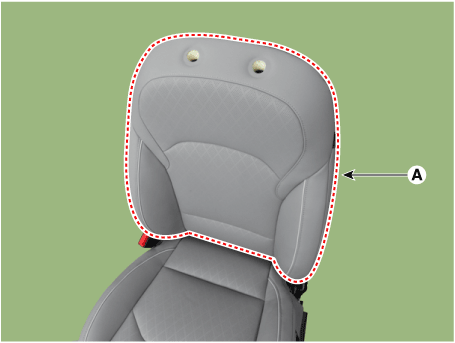
Push the lock pin, remove the front seat headrest (A).
|
| 7. |
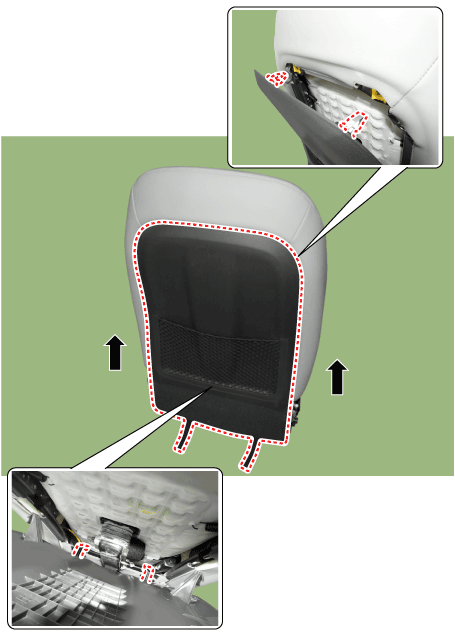
Remove the front seat back board (A).
|
| 8. |
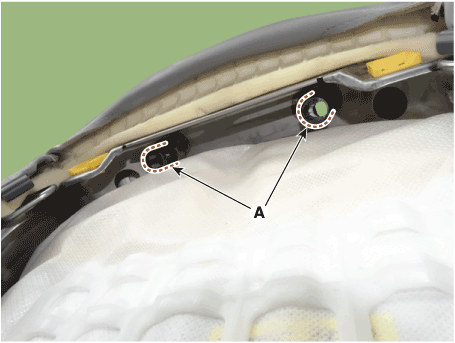
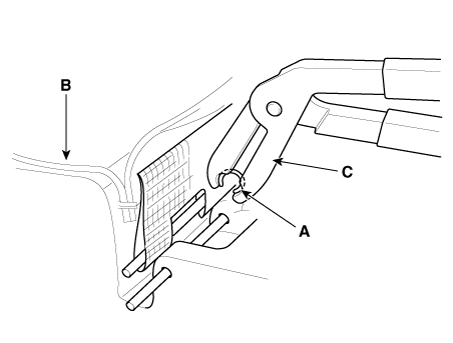
Turn the front seat back cover inside out. Then pull out the headrest
guides (A) while pinching both side of the lower part of the guides,
and remove them.
|
| 9. |
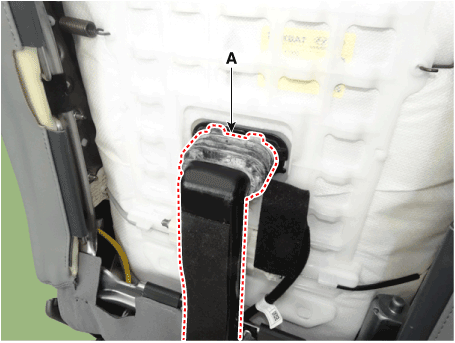
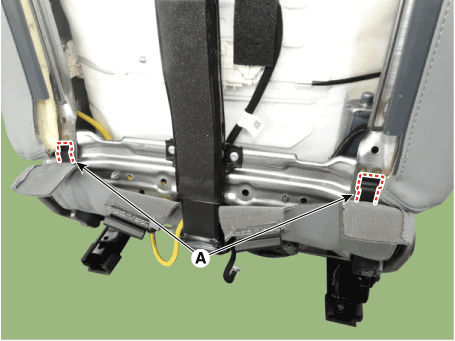
Disconnect the front air ventilation upper duct (A).
|
| 10. |
Remove the protector (A) from the front seat back frame.
|
| 11. |
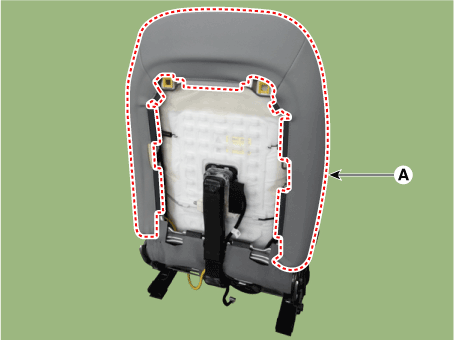
Remove the front seat back cover assembly (A) from the front seat back
frame.
|
| 12. |
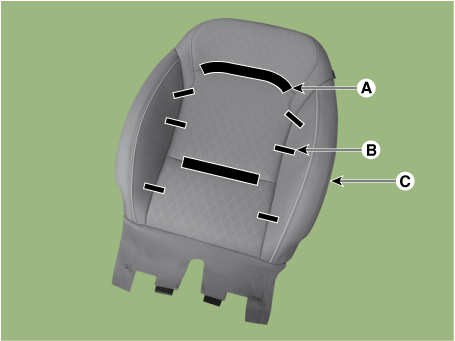
After removing the Velcro tape (A) and hog-ring clips (B) inside the
front seat back cover, remove the seat back cover (C).
|
| 13. |
To install, reverse removal procedure.
|
 Front Seat Shield Inner Cover
Components and components location
Component Location
1. Front seat
shield inner cover
Repair procedures
Replacement
•
Put on gloves to prevent hand injuries...
 Front Seat Cushion Cover
Components and components location
Component Location
1. Front seat
cushion cover
Repair procedures
Replacement
•
Put on gloves to prevent hand injuries...
Other information:
Hyundai i30 (PD) 2018-2025 Owner's Manual: Installing a Child Restraint System (CRS)
WARNING Before installing your Child Restraint System always: Read and follow the instructions provided by the manufacturer of the Child Restraint System. Failure to follow all warnings and instructions could increase the risk of the SERIOUS INJURY or DEATH if an accident occurs...
Hyundai i30 (PD) 2018-2025 Service Manual: Front Pillar Trim
Components and components location Component Location 1. Front pillar trim Repair procedures Replacement • Put on gloves to prevent hand injuries...
Categories
- Manuals Home
- 3rd Generation i30 Owners Manual
- 3rd Generation i30 Service Manual
- Trip computer
- Drive mode integrated control system
- Brake/clutch fluid
- New on site
- Most important about car
Warning light and message
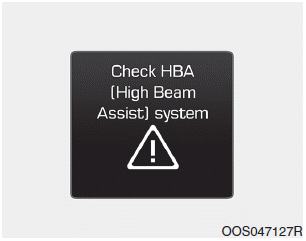
When the High Beam Assist (HBA)
System is not working properly, the
warning message will come on for a
few second. After the message disappears,
the master warning light ( )
will illuminate.
Copyright © 2025 www.hi30.net


